I was planning to bake some blueberry muffins and probably something chocolate-y but found out we had just ran out of plain flour and caster sugar. So I'm currently sitting on the sofa in the living room typing out this post while waiting for my mum to return home with the ingredients I need. And in a short span of 10 minutes I've already had two mosquito bites. Like seriously 😒
I've done a shadow box layout some time ago to place at the top landing of my room stairs but decided to do some touchups on it and also photograph it. Since I have some time now, I finally decided to get down to it and edit the photographs and pen down this post.
I didn't get my shadow box from the typical scrapbook brands or stores since they are insanely expensive. I remember seeing a 12" one in PaperMarket for $39.90 or $49.90! 😮 That is wayyyyyyyyyyy out of my budget so I did not purchase it.

Since shadow boxes are essentially photo frames with a depth/thickness, I decided to search for photo frames instead. Fast forward a couple of months and I was not able to find any shops in Singapore that sells shadow boxes or any frames which have any type of depth to them. Most thick photo frames I found have simply have a thick frame without any gap between the glass and the backing, rendering it useless to contain layouts with any sort of embellishments.

While shopping in IKEA one day, I finally found the perfect shadow box! Mind you I have seen thick photo frames in IKEA before but they all do not have any gap between the glass panels and cardboard backing. The photo frame I got was called RIBBA and it was perfect!


The small square space where you could insert the photo measures only 12cmx12cm/4¾"x4¾" but if you remove the white cardboard, you will have a larger space of 23cmx23cm/9"x9" to work with.

I have a huge stash of woodgrain papers because well, i really like the woodgrain design. Instead of using a dark woodgrain, I chose a light one since I know I will be placing the shadowbox on dark hardwood and wanted there to be a contrast. Since the RIBBA frame is smaller than a normal sized scrapbook paper, I had to cut it down to 9"x9" such that it becomes the base that I will be working with.

I have no idea why my face looks so orangey in these photos? I think it had something to do with using the yellow background hahah. My hardwood floor also looks more orangey than normal.

The photo I used was ¼ of a 4R sized photo and measures 2"x3". The colour palette I was working with was mostly hues of peach and turquoise to bring in the colour from the orange shoulder bag and the green from the background. I didn't want to just use orange or green since they were not at the top of my favourite colours list lol. There was also some dark blue elements to bring in the shirt QH was wearing.

Basically I just layered the photo over patterned papers of different sizes and also some tissue paper to add different textures. And also because I seem to have taken a liking to tissue paper these days.
If you only have patterned papers and want to add variation, you could also try cutting the papers into different shapes (rectangles, banners, flags) / use different cuts (scalloped, raw, zigzag) instead of just a straight edge / try crumpling up some of the papers / adhering the papers with foam tape to create depth.

To finish it off I added some paper flowers using glue dots and glossy accents for extra hold. I also rounded the corners of a small rectangular "love" sticker so that it will look like a tag from a manila folder. I also added a woodgrain photo corner on the bottom right because it felt a little empty.

This was how the layout looked like when placed inside the shadow box! I still felt like something was missing and wanted to add in another element that could only be done in a shadow box. What I came up with was to add a small hanging banner!

I used gold sequins in this case but you could definitely use other trims, ribbons, laces or even make a flag banner by sticking small flags onto twine!

Sticking the sequins was hardwork. The first time round I used glue dots which worked great – for a few days. The sequins fell after a while probably due to gravity and that my glue dots couldn't withstand the weight of those sequins. This was the touch up which I mentioned I had to do at the start of this post.
A more permanent solution would be to used liquid glue such as glossy accents or E6000 but I did not want to since I may want to recycle the frame with another layout. It is almost certain that using liquid glue would be almost permanent and destroy the frame if I were to try removing the banner.

In the end, I decided to just double up on the glue dots and also used some washi tape to hold the banner more securely.

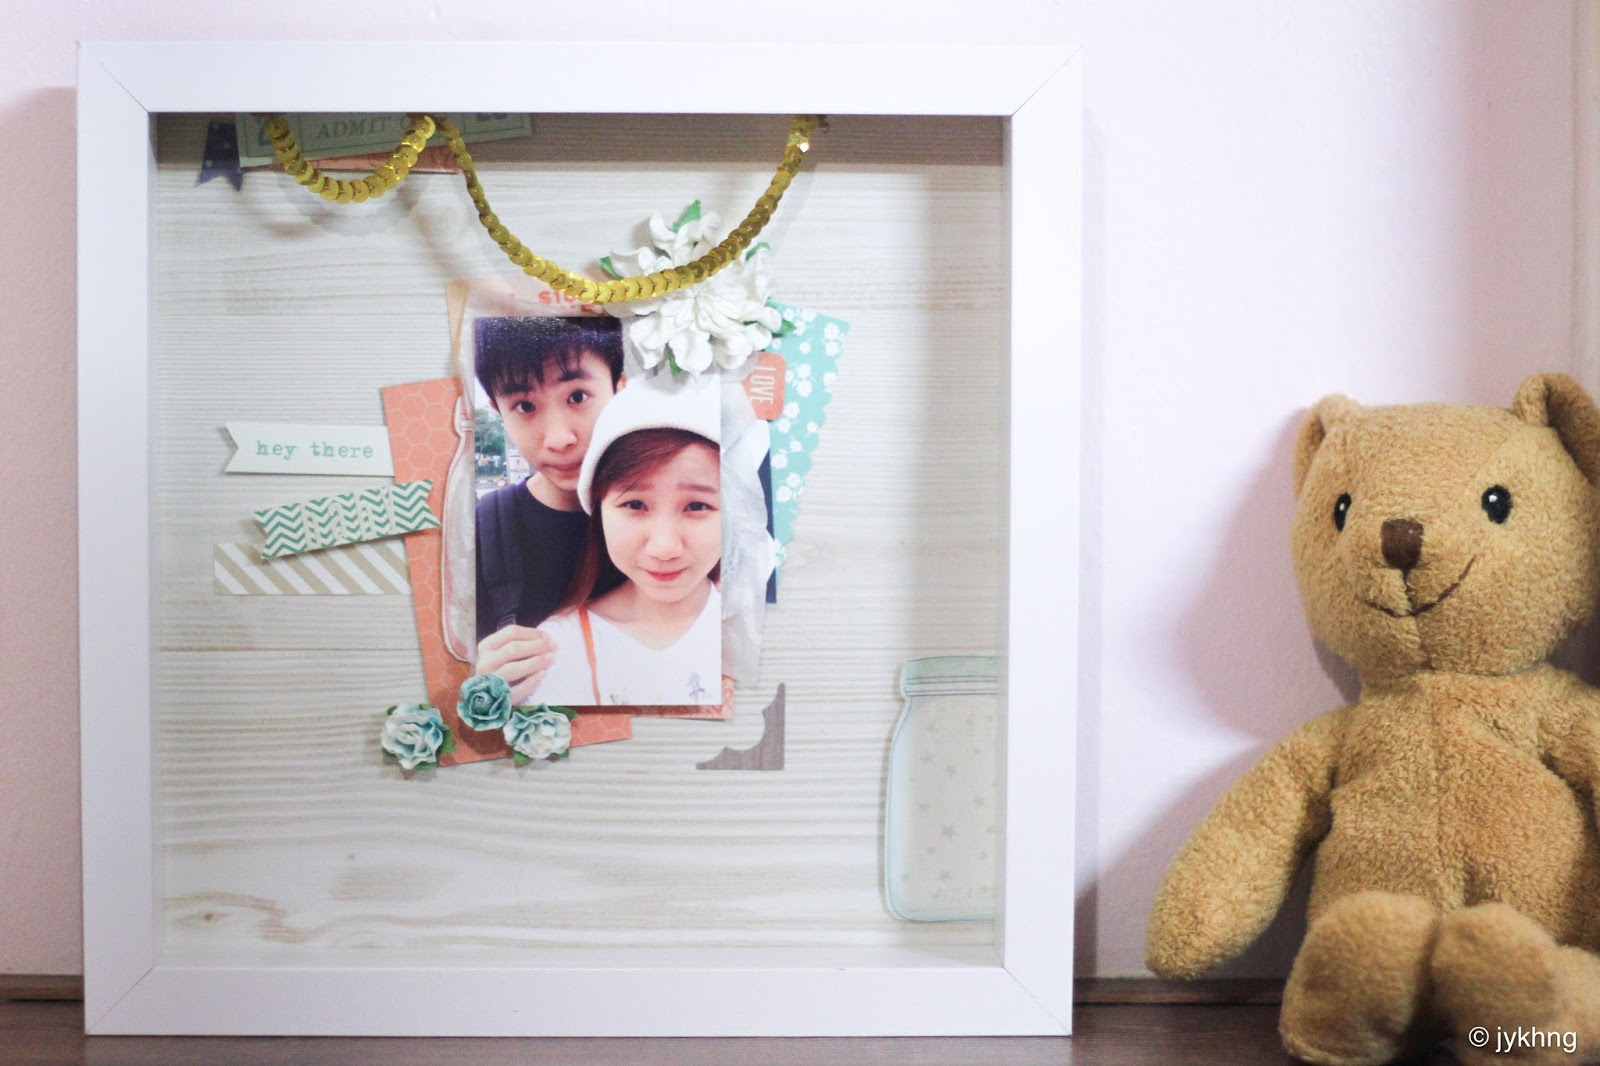
Here's how it looks like on the top landing of my stairs ft. mr teddy, which coincidently is also from IKEA. Hahah.
I shall finish up my dinner now (yup, I starting eating halfway through the post) and get started on baking soon as it's getting late. Anyone wants a blueberry muffin recipe and post? <: font="">
P.S// I used emojis in this post, I'm guessing it can't be seen on desktop but I think it will show up on mobile?
No comments:
Post a Comment